
Drywall is the silent reason for your home’s comfort and luxury. This component of the construction of any home provides an essential barrier for the inner workings of the home’s foundation, air conditioning fixtures, water lines, and electrical work. All this runs behind the drywall throughout the home, providing you with a clutter-free lifestyle that maintains all the creature comforts that you expect from a modern home.
Likewise, the drywall in a property can help insulate your living space from the temperature changes that occur outside. In virtually every home, there is a layer of insulation that rests on the other side of the wall, and this wouldn’t be possible to incorporate effectively without the use of these drywall sheets to form a barrier for the home’s interior spaces. Learning how to replace drywall is therefore a task that all homeowners should acclimate themselves to. Holes in the wall, water damage, and much more can create the need for a repair or replacement, and in many instances, homeowners themselves are more than capable of caring for this particular need on their own.
DIY drywall replacement isn’t complicated.
Many people have taken on new DIY projects recently. Fixing up the home is a great use of your time, and for those with an eye for detail and a passion for working with their hands, this is a great project. Drywall repair or replacement work is often fairly streamlined and can be completed quickly.
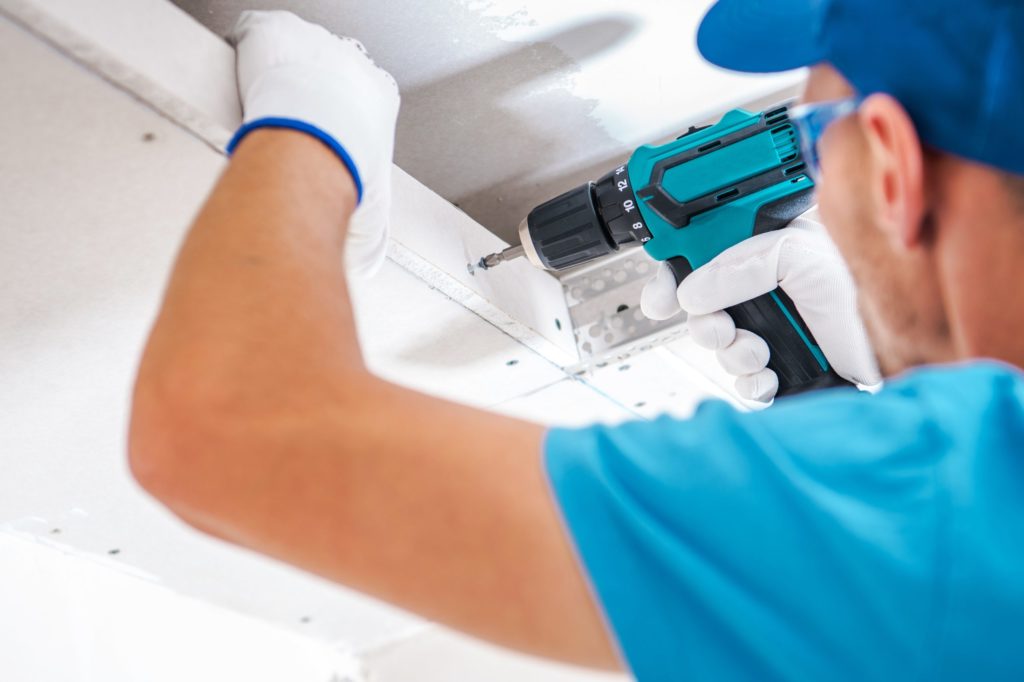
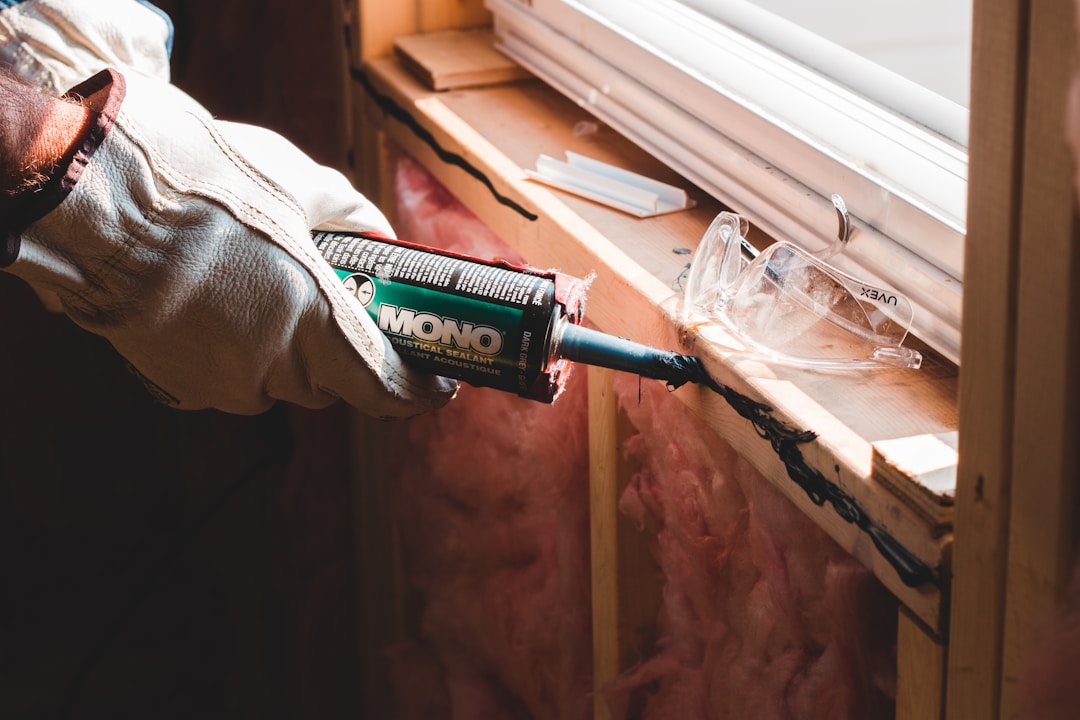
In the current era of coronavirus pandemic lockdowns and working from home setups, more and more people are discovering areas of the property that could use a little love. For some, this happens in the walls themselves. Moisture and other agents can create the need for large sections of replacement drywall, but the process is simple. It starts with an exploration of the damage itself. Breaking away sections of a damaged wall can help you uncover the extent of the problem. From here, you will simply need to tear away any segment of the old drywall that exhibits signs of this same problem. Then, you’ll have to expand the cutaway out to surrounding studs. Drywall must be fastened to the timber frame that sits on the backside of your interior space, so finding the studs is crucial. Cutting your board to size and then using drywall screws to set the new drywall piece into place is quick and often very simple. Then, using a joint compound or drywall mud and spackle knife, you fill in surrounding seam areas and allow the whole package to set in place.
After this, spackling the new board to fit in with the texture of the existing walls will give you the finished look you are after. Then, it’s just a matter of painting the new section of drywall and you’re all done!
Consider hiring a professional for more extreme jobs.

If you find yourself overwhelmed by the scope of the project, hiring a professional to complete the job is totally acceptable. Many homeowners start a drywall replacement operation only to find that the water damage they are mending is far more pervasive than they initially realized. If you’re in over your head, calling in a professional to complete the job is the best way forward. Thankfully, within the drywall repair segment of home improvement, there isn’t really much negative momentum that you can add to the task. This means that homeowners who discover that they require professional help haven’t dug themselves a massive hole that will require extensive and expensive services to repair both the initial damage and any additional setbacks. In drywall, the repair is as simple as cutting away the appropriate amount of material and then filling in the void with new drywall.
Use these tips to ensure that your drywall fix is always done right.